Custom Colors in a Matterport Tour: Upgrade Your 3D Experience
Are you tired of presenting generic and lackluster Matterport tours that fail to captivate your audience? Let us show you how to transform your tours into visually stunning and engaging experiences with custom colors! At Openhaus Pro, we believe in the power of personalization, and our ultimate customization tool for Matterport Tours is here to help you create a tour that stands out from the crowd.
The Impact of Customization
Let's begin by comparing two Matterport tours side by side. The first one is your typical generic tour—blank, uninspiring, and just a collection of 3D scans. Now, there's nothing inherently wrong with this approach, but why settle for something unremarkable when you can create a tour that truly shines?
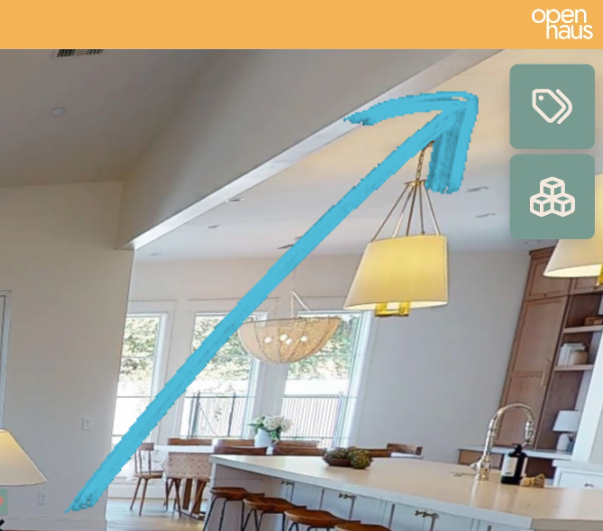
In contrast, the second tour we present boasts a custom user interface, branded buttons, and even a video in the top left corner, taking the engagement factor up a notch. We've observed that when you add these customizations and align them with your brand's style, engagement skyrockets! Viewers are more likely to interact with your tour and get excited about the experience you're providing.
The Openhaus Pro Difference
Our team at Openhaus Pro has made it our mission to provide you with the ultimate Matterport customization software. With our powerful tool, you can easily add custom colors and themes to your tours with just a few clicks. Gone are the days of bland, one-size-fits-all tours. It's time to create a tour that perfectly aligns with your brand's identity and vision.
Adding Custom Colors: A Simple Process
Now, let's dive into the practical side of things. To add your own colors to a Matterport tour, you'll need the Openhaus Pro customization software. Don't worry; we'll walk you through the process step-by-step.
- Accessing the Open House Portal Dashboard: Once inside the dashboard, locate the space you wish to customize. Click on "Customize Theme" for the selected space.
- Unleash Your Creativity: On the right side of the screen, you'll find a plethora of user interface elements that you can customize individually. From action buttons to Matterport buttons and video buttons, you have the power to fine-tune every detail.
- Personalize with Ease: Changing the colors of these elements is as simple as a few clicks. Choose primary and secondary colors from the available options or, if you have a specific custom color in mind, our support team is here to assist you.
- Preview and Save: With each adjustment, preview how your tour looks and feels. Once you're satisfied, hit save and refresh to see your customized Matterport tour come to life!
Delight Your Clients with On-Brand Experiences
Customization isn't just about making things pretty; it's about creating an immersive 3D experience that resonates with your clients. Openhaus Pro empowers you to deliver tours that perfectly match your client's brand message, with custom logos, custom colors, and custom fonts, elevating their marketing efforts and leaving a lasting impression on potential customers.
So, are you ready to take your Matterport tours to the next level? Embrace custom colors, showcase your brand identity, and craft experiences that are as unique as your clients.
Watch the video to learn more about customizing colors in a Matterport tour with Openhaus Pro. Let's bring your vision to life!